Wednesday, October 31, 2012

Thing 1 & Thing 2 Costumes


Yes, Thing 1 & Thing 2. You see, their hair is blue and their character so true.  There could not be a more fitting role from Dr. Seuss, indeed!I've posted several pictures, mainly for family and mostly for the cuteness thing 1 & 2 brought to the camera. It was so much fun to make these costumes and very inexpensive.  I was able to reuse all the items, except the logos on their shirts! Take a look and enjoy!  I have listed the items used for this project further below.

And this is why I chose these characters and the roles were perfectly cast!
Look at me, look at me
thing 1 and thing 2, now tell me...where's 3?
Ok, everybody.  I am SO proud of my son.  He has taken after me and he is organizing his candy! Yes, I was stood so tall when I realized what he had done after trick or treating.  He does pay attention, after all :)

For our treat bags, we used old oatmeal canisters and put white paper and red card stock stripes on. It was a last minute forgotten item, necessary for trick or treating! Landon carried his the Cat in the Hat.

At the end of the night, this was our feeble attempt to get everyone's picture, together, at the same time.  Pardon the background mess. We just started throwing toys to get on the floor. Mommy & Daddy had signs pinned on our red shirts that said, "Thing 3 & Thing 4" and Paparazzi at the bottom.


My husband did sit behind the ball in these pics.  Our front yard is all down hill, so Landon was not to be trusted with an over-sized ball!


Directions: Take an average knit winter hat and sew the boa in a circular pattern until you run out of hat or boa.  I didn't purchase enough, so I would recommend 3 boas for a fuller effect.  (Tip: when sewing, blow on the feathers to find your needle, it can be a bit puzzling).


For the shirt labels:  It would have been easier to find a free printable online, but I didn't have time or the special transfer paper to iron on.  So, I improvised, as usual.  I took a plain piece of cotton fabric and drew the text with a pencil.  I then took some black acrylic paint (should have used fabric paint, but again, none in my craft stock) and outlined everything. I then took a wider brush and filled in the rest. After drying, I roughly stitched the circle onto the shirts.  I plan to re-use the shirts after this holiday!
They had so much fun together, she and him.....the chances of them being very still are slim.  So if you have some wild things like I do, who open the crate and out comes the zoo. Try these little costumes and after your photo shoot, you'll be through! Whew!


Sunday, October 28, 2012

Spiced Pumpkin Rice Krispy Treats

Last Minute Idea for kids' fall parties: Spiced Pumpkin Rice Krispy Treats


Aren't they cute?


Simple ingredients: Bag ofPumpkin spice marshmallows, Caramels (1 for each pumpkin), Green Fruit Pick (1 for each), Butter & Non-stick Spray
These are made just like the traditional Treats except you'll be forming round balls with your hands, just spray your hands with non-stick spray before getting to work. 

I took a big spoon to scoop out about 2 scoops of warm krispies and rolled them into a ball.  You have to work quickly or things will get really sticky towards the end. Just make sure to keep your hands greased up during this process. 
I layed them on wax paper and made an indention with my index finger for the stems.  I then took the caramel melts and warmed them with my hands, then stretched and twisted them until they looked like a vine-like stem.  I then took my fruit pick and broke off the top 1/3 and poked it in near the stem. You have a few minutes at the end to play with the shape and form it into a more realistic pumpkin.Voila! Super Easy!
I took these to Landon's friends at Mother's Day Out Pumpkin Patch outing and they were a hit! I made some with candy corns instead of the Fruit Pick and they wanted those instead!


Tuesday, October 23, 2012

Wizard of Oz Themed Halloween


Last Minute Scarecrow Wreath  Supplies: grapevine wreath, scraps of burlap, cotton denim, leg of jeans (cut offs) red gingham, striped upholstery fabric, black feathers, hot glue gun, jute twine
Just simply tie your scraps on the wreath and use the burlap to make legs and arms and stuff cut pieces of raffia into them using the jute to tie on.  Take some more jute and tie about 1/3 of the way down the raffia also.  I took the burlap bag corner and folded over to make the hat, stuffed it with raffia and glued some scrap squares on, stuffed some bird feathers over the shoulder area and that's it. I hung my wreath over my wood pumpkin already on the door.  Does it look last minute?  I intended to make an Urban scarecrow wreath from pinterest, but did not have the old men's xl men's shirt to make it, so here I go again....improvising!


Here's our pre-school craft: We took drinking glasses and cut out pumpkin faces on paper and taped them on the glasses.  We put a votive candle inside and instant carved pumpkins, sort of!

Here is my take on Halloween decorating: I've never celebrated ghosts and goblins and all the spooky things most people like to think of during this "candy and dress up" holiday....However, I just like the notion of Fall, the celebration of candy apples, and the thought of my childhood during the fall season.  The time where we'd pile the leaves up and jump into them, or make our own costumes and get together with church family and watch the older people "bob for apples". As I got older, I just enjoyed having a bon-fire, roasting hot dogs and s'mores, a fun hay ride and I love me some homemade chili. Now that I have children, they bring out the fun creative side in me.  There's still  the memory during this season, as a child, watching  "The Wizard of Oz" on tv and just hoping there wasn't  a storm that night, because our antenna would blow the signal off and we'd miss it. (oh, that's exposing my age, oops!) I really like the theme of "There's no place like home" and the way of finding who really matters is your family.  So in tribute to this, I share with you my wicked witch tutorial. 


The Sign

1. I took a scrap piece of 1x4 and painted it with green acrylic paint. 

2. I hand painted the words with black acrylic paint and a small stiff brush. 3.
4. Next I used the top of the acrylic bottle to make the dots by dabbing on the white paint and stamping the board. ( I did not have a round pouncer sponge or I would have used that)
5.   I then used a stiff brush and dipped it in candy apple red acrylic and made x's.  
6. I then glazed it with gloss medium and then used 180 grit sand paper and roughed up the edges and through the middle. This would have looked better with stencils and perhaps painting the dots all over, before the letters. I just didn't have much time for this project! So I hurried through, Eh, good enough!  
For the stake:
1. I used scrap lumber, and painted it solid green 
2. Used a stiff brush to paint the stripes.  
3. Roughed it up a bit with 180 grit sand paper. 
4. I took an electric drill, measured the thickness, found the appropriate screw and screw bit, then drilled the screw from the back.
The Shoes:  Supplies-High heeled shoes, from wal-mart on clearance, rubbing alcohol, cotton ball, newspaper or old cardboard,gloves,spray adhesive, and red glitter
Directions: 1.Take your shoes,  rub them over with the rubbing alcohol and let dry.
2. Over a piece of newspaper or cardboard (or whatever you have)   spray with the adhesive all over the top of the outside of the shoes, you may want to put newspaper into the shoe to block any adhesive in there.
3. Holding each shoe, take your glitter bottle and shake, shake, shake.  (Warning: you will get glitter everywhere) Whatever excess glitter that falls off, funnel it back into your glitter container so it's not waisted!
4. Let it dry, and stuff those little witches legs into them. If you want, you could glue the legs into the shoes...I just chose not to, for storage purposes!
I found the witches hat at Walmart for $1.97 that has the hair attached.  The witches broom was from Dollar General and was the cinnamon scented one for $5.00.  (I used the Saturday coupon and got it free!)


The Legs:  I first saw something like  this in an All You magazine a couple of years ago and thought it was cute. I could not find the black/white stripe tights, so I improvised.  
1. The Tights are generic white women's tights. I stuffed them with poly-fill 
2. Use black masking tape to make the stripes and space them equally. 
3.  Tie off the top with a twist-tie.


Here is the front door, ready for trick or treaters!


Here's my lonely little tree....My intention was to make miniature caramel apples on a pop stick and hang them with ribbons, however the apples were so juicy the caramel just went everywhere.  So instead of apples, I hung up string cheese, yes, in the package.  This project was for the 4-5 yr old Mother's Day Out class' fall party.  The kids liked the owl and loved the cheese and I ate all the melted caramels and lonely apples the rest of the day and the next, so it was a win, win situation! Oh, Landon ate a few, too.
 I also intended to spray paint the tree with a green glitter spray, but I had to improvise for lack of time and resources! Now we can use the limb for Thanksgiving notes!
Supplies: Metal Bucket, flower styrofoam, moss, old tree limb, orange glitter tube, halloween ribbons, christmas tree hooks, small owl, bow for owl's head, craft pic, yellow cardstock, rub-on fall stickers, glue gun

Directions:
 Cut your styrofoam to fit the bucket, place your tree limb securely into the center of the bucket. Now you can add your glitter paint, I used a diagonal stripe all over and accented the leaves and acorns.  I removed the excess tree leaves to allow room for the candy apples. I covered the foam with the moss and tucked  in the edges.
Next, I took my little christmas hooks and wrapped the ribbon on securely.
I then took my owl and wrapped the wire stems around the branch and added a bow on her head.
I took the card stock,  rubbed on my stickers, then glued it to a craft pick and put it in the foam.
Last, I hung up the string cheese.
I will try to get a picture of that loaded soon!
There's No Place Like Home


Thursday, October 11, 2012

Before you use those acorns indoors.....

Your Backyard Oak Tree...A place to find free acorns! What? Bugs live in those?


http://img.ehowcdn.com/article-new/ehow/images/a08/bb/hg/kill-insects-acorns-800x800.jpg In this article, E-How describes the process of killing bugs in acorns.

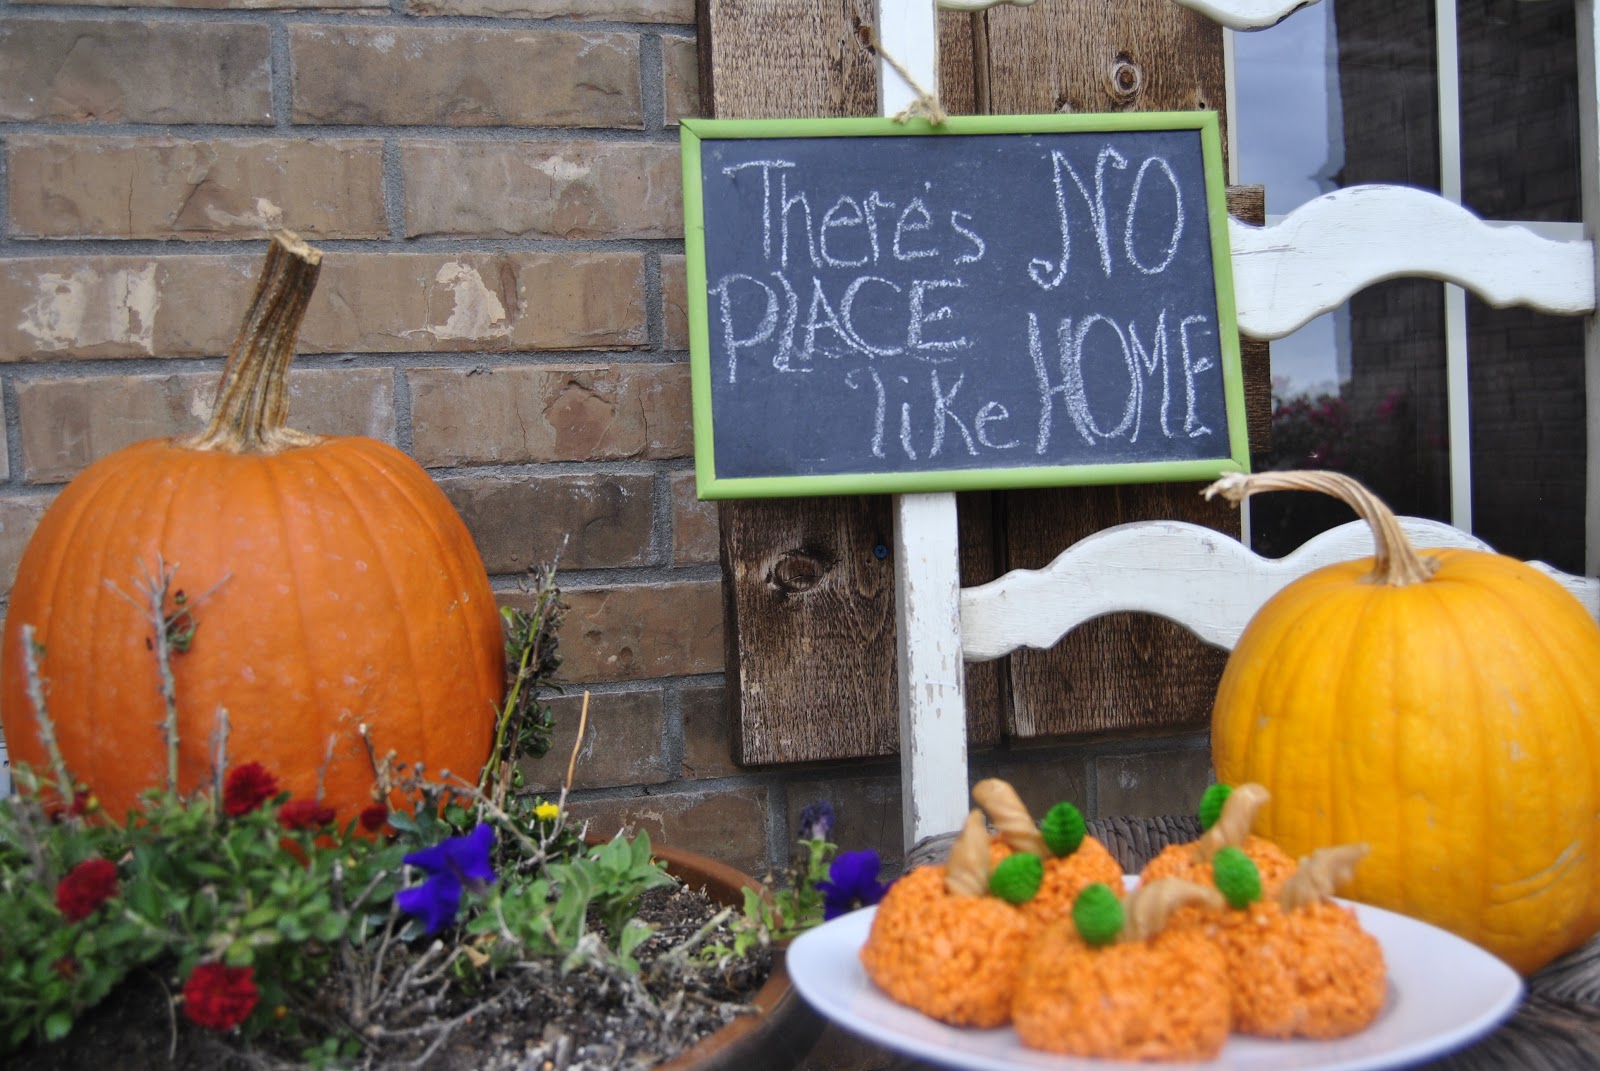
Well, it's Thursday here in Arkansas and fall is in the air.  Landon and I went on a nature walk yesterday to look for anything interesting and put those items in a pan to look at and discuss later. Along with a blue jay feather, a golf ball, tons of rocks and leaves, some  poison berries, we found several acorns along the tree line. 
 I remembered back to the last time I wanted to harvest acorns. I brought them in by the buckets and I  was so excited I didn't have to buy those little boogers, I could just get them for free in my backyard. With all my projects ready to take on, I set them on the counter after washing them & let them dry until I could get the time to finish.  Within a day, to my surprise, I looked closely and....there were  several "worm-like" things oozing out of the acorns, crawling up the inside of the jars and some were out on the newspaper and on the floor. I discovered they were maggots or some insect larvae (yuck, I can hardly even say those words) it was so disgusting. I am an OCD clean person, so this brought on some heavy duty disinfecting in the entire house.
  So, anyway, I had to throw out all my acorns and made no projects that year. However, with some research, I discovered that you need to wash, boil, rinse and repeat and bake those pretties in a 2-3 hour process to remove all bug remnants which tolerate a beating from nature to survive in those little acorns.

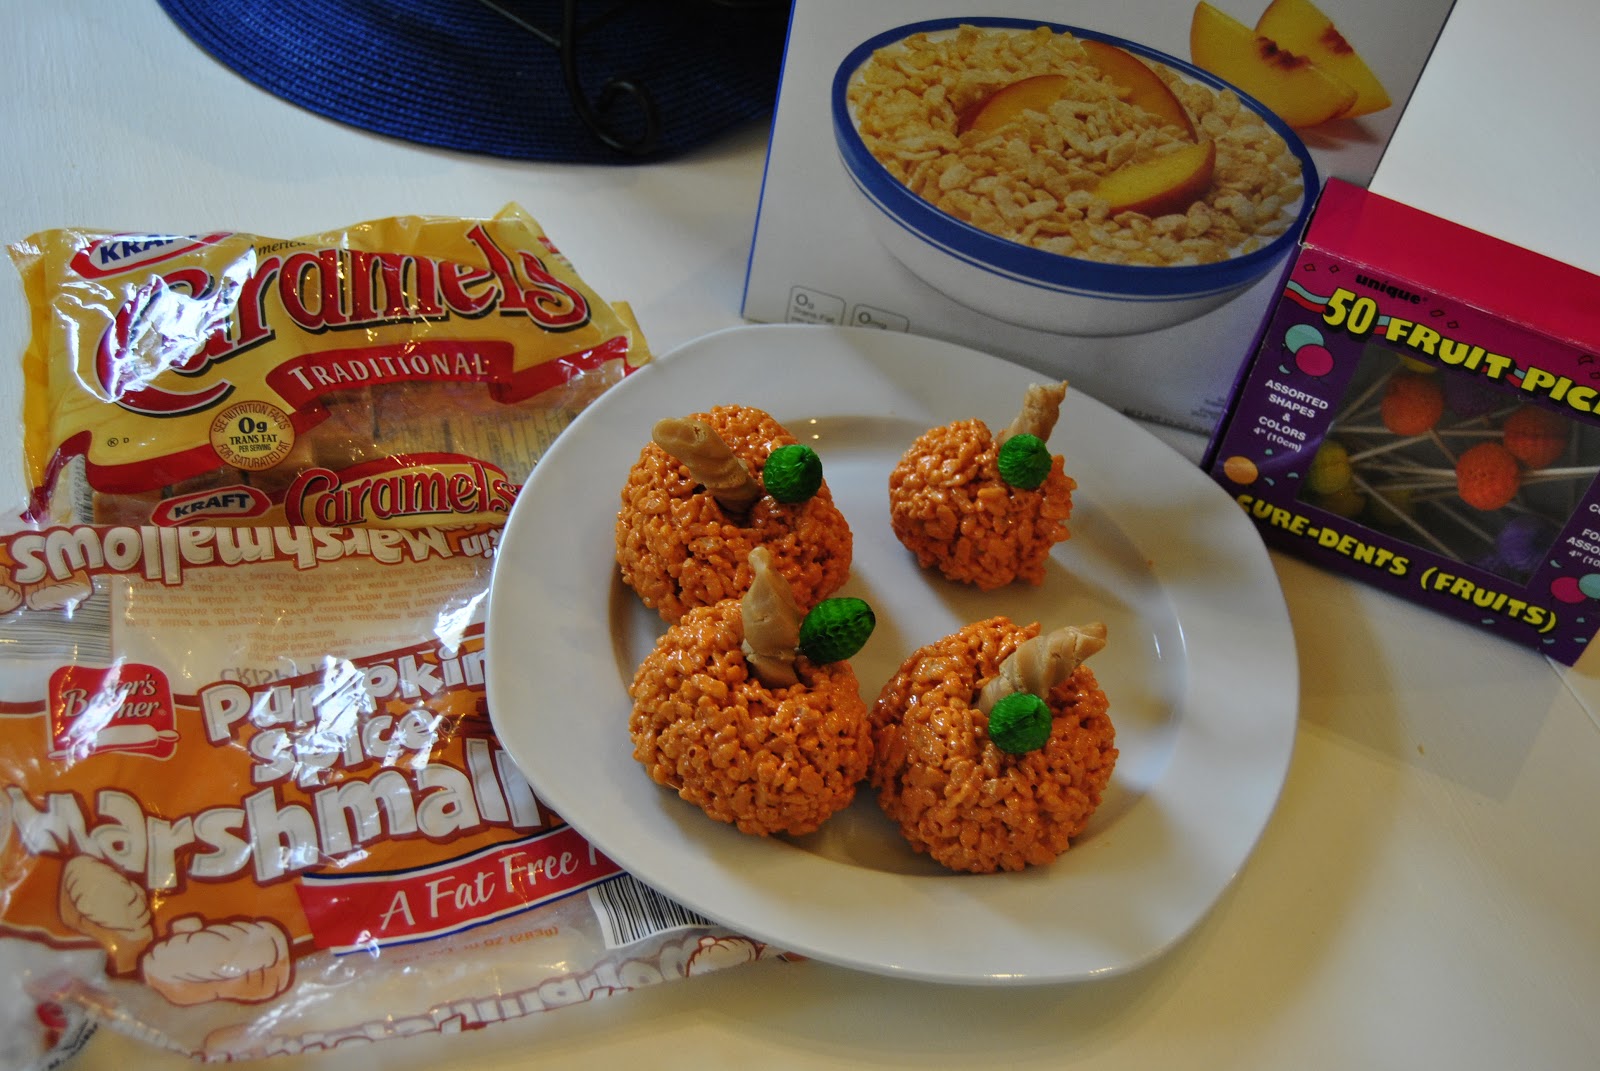
My plans are to sanitize my acorns and I will post my methods and pics of my later projects.  I am planning on using a wood stain on them to give them a nice polished look and possibly paint some of them for a wreath!  Just remember to read the above article before starting your projects with acorns. There are so many cute ideas, especially these from Pinterest. Just type in acorn wreath, acorn, and acorn vase filler.  Pottery Barn sells a bag of acorns for around $14.50. If you have the time and want to save money, then looks like you just found a bargain in your own backyard! Happy Fall Y'all!

Sunday, October 7, 2012

Wild things Farm, Pocola, OK

We went to Wild Things Farm this weekend. There are so many things do at this Pumpkin Patch besides just look at pumpkins.  There are hay rides, a corn maze, fall fruits and  veggies market .  It's a great photo opportunity and they're located in Pocola, OK, just outside of Ft. Smith.  They have things going on year round except for the winter season, although they may have a green house. I had recently posted their website link, but was notified of a malware computer disfunction (?), so you can type it in and check it out.
Livia's Hair Clip was made using felt, a button, hair clip, hot glue gun and some sewing. I will post a tutorial about my felt hair clips soon.
Landon was surprised when Livia took the pumpkin and tried to eat it instead of pose for the picture!


We had so much fun posing Livia. The photo before this, she had eaten grass and was coughing! that girl eats everything, including bugs.
Her leg warmers were made from women's knee socks.


All laid back, the wind just blowin' my hair back, ahh.


Ohhh, I'm going to eat you, little pumpkin!


On the wagon, yes this was the best photo of ALL of us, why Landon?


Landon had fun running, and running, and running. In the background is the pond and you can pay to fish there, too.


So happy this one turned out decent. The wind was blowing and it had just stopped raining. I think I'm going to frame this one!


Landon's thoughts are probably, "Can you see me?"