Wednesday, November 14, 2012

Livia In Onederland


Happy First Birthday, My dear, sweet Livia Brielle! Born on 11-11-11, what a memorable day!
This first year has gone by so fast, in fact, that's what all parents say. Although, there have been some very slow moments, where I'd just sit and stare at your sweet little face, keep from sleeping just so I could watch you breathe, sit and watch you learn to smile, to roll over, to sit up and finally learn to take your first steps.  Those are the moments that seemed to last a lifetime.  Every moment we held you to keep you warm when you were a newborn to waking up every few hours to hold you and give you your milk, until you were able to hold the bottle yourself-these..... all seemed like eternity. Now, here you are, seeking independence already!  We have cherished you because God gave you to us, we have embraced the special life he gave and we especially rejoiced when they told us you were a girl. So now, we take this special day to honor you and thank our friends and family for all their love and support.

Project 1:Livia in her Onderland dress.
 This dress was made from a womans blue silk shirt, found at the goodwill store. The Basics: I took one of her dresses and used it as a pattern to cut the shirt into the Onederland dress. I studied Alice's dress from the disney book and added a few adjustments for a one year old.
The apron was plain cotton scrap fabric, rosette white trim, and satin ties for the back, with a button closure at the top.
The leggings were clearance knee high socks from target, cut at the ankle and fit to her leg length.

Project 2: Thematic Elements

Our plans were to have this great tea party outdoors, provided there wasn't any rain.........well, no rain came, but we didn't think about winds.  Yes, very windy SE winds 15-20 mph recked havoc on my plans, but....yet again, I had to improvise and take most things indoors. Here are a few items made for outdoors; playing cards, tree signs, croquet game and front door wreath. 


Playing card was made from poster board and construction paper. I used an old cereal puff container for the paint can and cut out the paint brush with regular card stock.  I looked at the faces of the cards in the book and tried to draw them similarly. I used my tomato cages to hot glue them onto and stuck them in the mulch, as if they were really painting the roses red!
 I used baby diaper boxes and cut out these wooden looking pointing signs for the tree. I painted with acrylic paint the words and outlined them in blending colors.
Here's spade boy, playing card, painting the roses red.
I just so happened to have this keepsake in my attic of an old croquet set my family played when I was little. I've been meaning to restore it, but haven't the time....but this will do. I had my husband cut up the tomato cages for the misplaced original wire hoops. I then hot glued playing cards onto the hoops for fun.

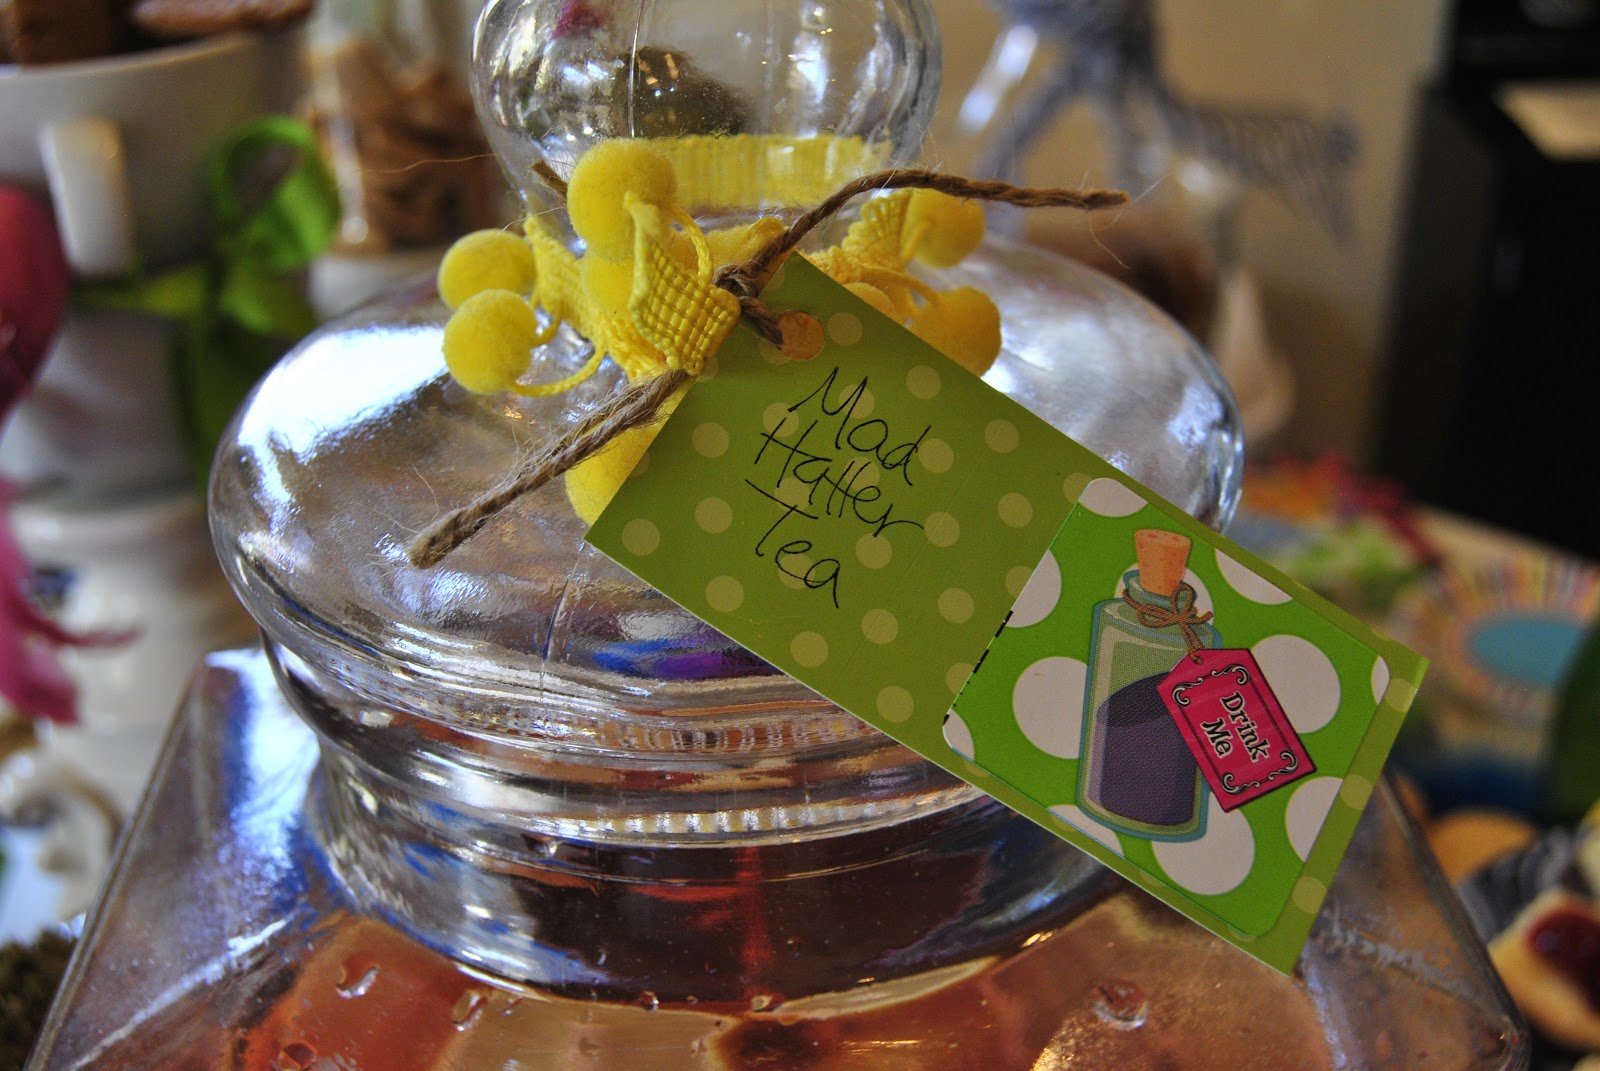
Project 3: Indoor  theme   Most of the appetizers were brought inside due to the wind, and most of the paper goods. I also wanted to hang this tissue ball & lantern set above the tea party table. So here they are, all inside. 


I followed a tutorial on tissue paper poms and flowers. I purchased the tissue paper from the dollar tree in the multi color pack and just divided out the colors to create each flower. It was so easy and inexpensive.
I plan on editing the following pictures and adding information, but for now here's a few pics, just for fun!


Thursday, November 1, 2012

Hymn Book Wreath: Tribute to John Newton

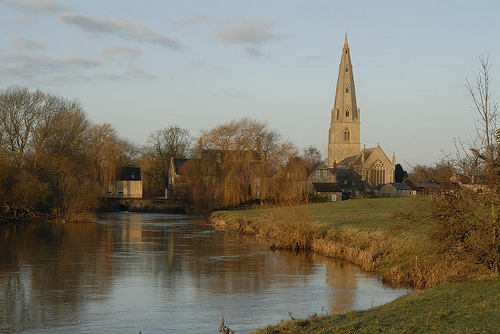
John Newton first presented the words to Amazing Grace at this church, wouldn't you like to visit this beautiful place? This image inspired me to use this as the centerpiece of my wreath, but how could I get both the sheet music and the picture to fit in the wreath?
After some brainstorming, I have created a way to showcase the church and the music in the center of my Hymn Book Wreath.  When the wreath is complete and I get my Corel Photo program to cooperate, I will show you the finished piece and more information from my research. All photo credits were links from google images and research from biographies of John Newton. Scroll down below these and I have shown you how I made my wreath.
Onley Hymns contains John Newtons writings from his sermons and notes, including the original amazing grace which was intended as a New Year's Eve sermon to his congregation.

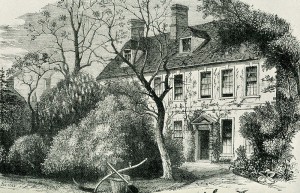
Amazing Grace written here at his home


Another view of the church in Onley, Buckinghamshire in  England
There is a movie  about the story of John Newton, which many have seen.  I just watched this again to refresh my memory. 
 I have not been compensated to share the following information. I happened to find this website with church resources and valuable information.  Here is the link: http://www.worldchangersresources.com/shoppe.htmlFox Home Entertainment and Bristol Bay Productions will release the DVD of Amazing Grace on November 13, 2007. Pre-order now! 


 I am so excited to present this project.  I have been looking for something to go on the Armoire in the living room to lighten it up a bit . I had found a tutorial using a book for paper rosettes and it looked interesting and I stumbled upon a tutorial of how to make a book page rosette wreath. One of  my favorite inspirations came from a link to this blog called Under the Table and Dreaming, by Stephanie Lynn http://www.bystephanielynn.com/2010/11/diy-faux-curled-rosewood-wreath-made.html . She has a great tutorial and a neat blog of useful ideas. 
I didn't have the time, but would love to make the rosettes one day with an old book. I saw a picture of a plainly rolled book wreath and decided to look through some of  my old books and ran across an old Broadman Hymnal.  I thought I would make this idea more of my own and simply use the sheet music and roll the pages at an angle to make a pointy petal look. 
 While tearing out the pages, I found myself trying to hum the melody and trying to remember the words.  I was so encouraged while looking through all of these precious hymns and was reminded of my grandmother. 'Nana', we called her, was such a prayer warrior and this reminded me of so many great memories of her faith and my childhood home church.  What a great way to honor this memory by displaying all the songs.  Here is my tutorial:


 Items Needed: wreath form ( I used a broken pool noodle), an old book or hymn book, duct tape, hot glue gun & a wooden skewer
1. Take your noodle and trim it to size, glue the ends together and secure with duct tape.  If you want, you could spray paint the noodle or cover with your choice of base covering.

2. Rip out all your pages, you're going to need a lot for a full wreath. I used most of the Broadman hymnal.
 For this look, I rolled the pages into a cone shape, tucking in the short end and allowing the title of the song to be on the outside.


3.   I then proceeded to fold up the end of my cone shape page and used the skewer to hold it into place.

You'll want to keep a straight line all around the wreath, adding them as close as you can.

5.Continue until you've completed a row around the ring.  Now add another row on top of the first.Keep adding your layers until you get to the inside of your wreath. Here you'll need to make them shorter so they'll lay more uniform. 
 Now you can layer the back side using the same method. You will want those layers to be a little longer and may need to fold them the opposite way to lay correctly.  This will get a little tricky, so be sure to use your skewer or craft stick to prevent burns with the hot glue.


My wreath was already antiqued and old, but if you want to add an old look with a bit of shine, you can use some acrylic antique gold paint and a small brush. Just paint the tips and edges of your pages and voila!


Here is my finalized plan: To spray a clear sealer all over to preserve the pages and  To hang this beauty with a greenish wide ribbon and insert the Amazing Grace/Church image in the center. Hope you'll check back to see the finished project.