Here's the post I promised from the Memorial Day, stroll down memory lane, house makeover. I finally found the pics on our backup hard drive. I only have a few before images right now, but hope to find more later on. The house was not that bad, but by some basic cosmetic updates, we were able to net around $14,700 at closing. We spent around $5000. Now, keep in mind this was during good economic times and while real estate was still going strong in the River Valley of Arkansas.
Before, this house had an orange/black/white brick color combo with faded white trim and there were about a hundred 6" landscape timbers outlining the driveway and around the sidewalk with monkey grass everywhere. We removed those and did an overhaul on the landscaping around the house.
Next: We primed and painted the brick a stonehenge griege color. It was beautiful. And Yes, you CAN paint brick. We used a concrete primer and followed with 2 coats of the paint with a roller.
We painted the trim a Navajo White, and the garage doors a shade lighter than the brick.
 |
| We added a kick plate on the door and slate tile on the small entryway. |
 |
| Here's an image before we put the shutters back on. |
 |
| We added a planter basket under the kitchen window and added more stepping stones. |
 |
| Here's a pic of me power washing the steps into the garage. I did a LOT of this and I loved every minute of it. I power washed the fence, the sidewalk, driveway,the entire house (before painting). It was so fun! |
 |
| There was a wall here before between the dining and living area, which was cut short. I just started on this one day and when my husband came home, I said "now you have to help me finish this!" So we enlisted the help of my Dad. We had to put in a header and patch up the sheet rock. Then we added the moulding, seen below. |
 |
| We painted the wood white and all the trim throughout the house. |
 |
| Crown moulding was added throughout the house, and it added so much detail. |
 |
| Before, the kitchen was painted red and the cabinets were faded. The flooring was linoleum in the kitchen and the bathrooms. I repainted the kitchen cabinets white and painted the gold hardware black. We took out 4 cabinet panels and had a Glass company put in glass panels. We also installed 18" tile on the diagonal to make the galley kitchen look larger. |
 |
| We painted the door hardware a nickel finish, installed wood laminate and replaced the old baseboards with a wider flat board. Also, you can catch a glimpse of the crown moulding that my Dad helped us install. |
 |
| Here's the living room. We replaced the mantle from a large piece of bulky wood, to this simple shelf made of a simple box with moulding trim and painted white. I replaced the ceiling fan globes with newer styled ones and reversed the fan blades to hide the dated lattice work in them and painted them. |
 |
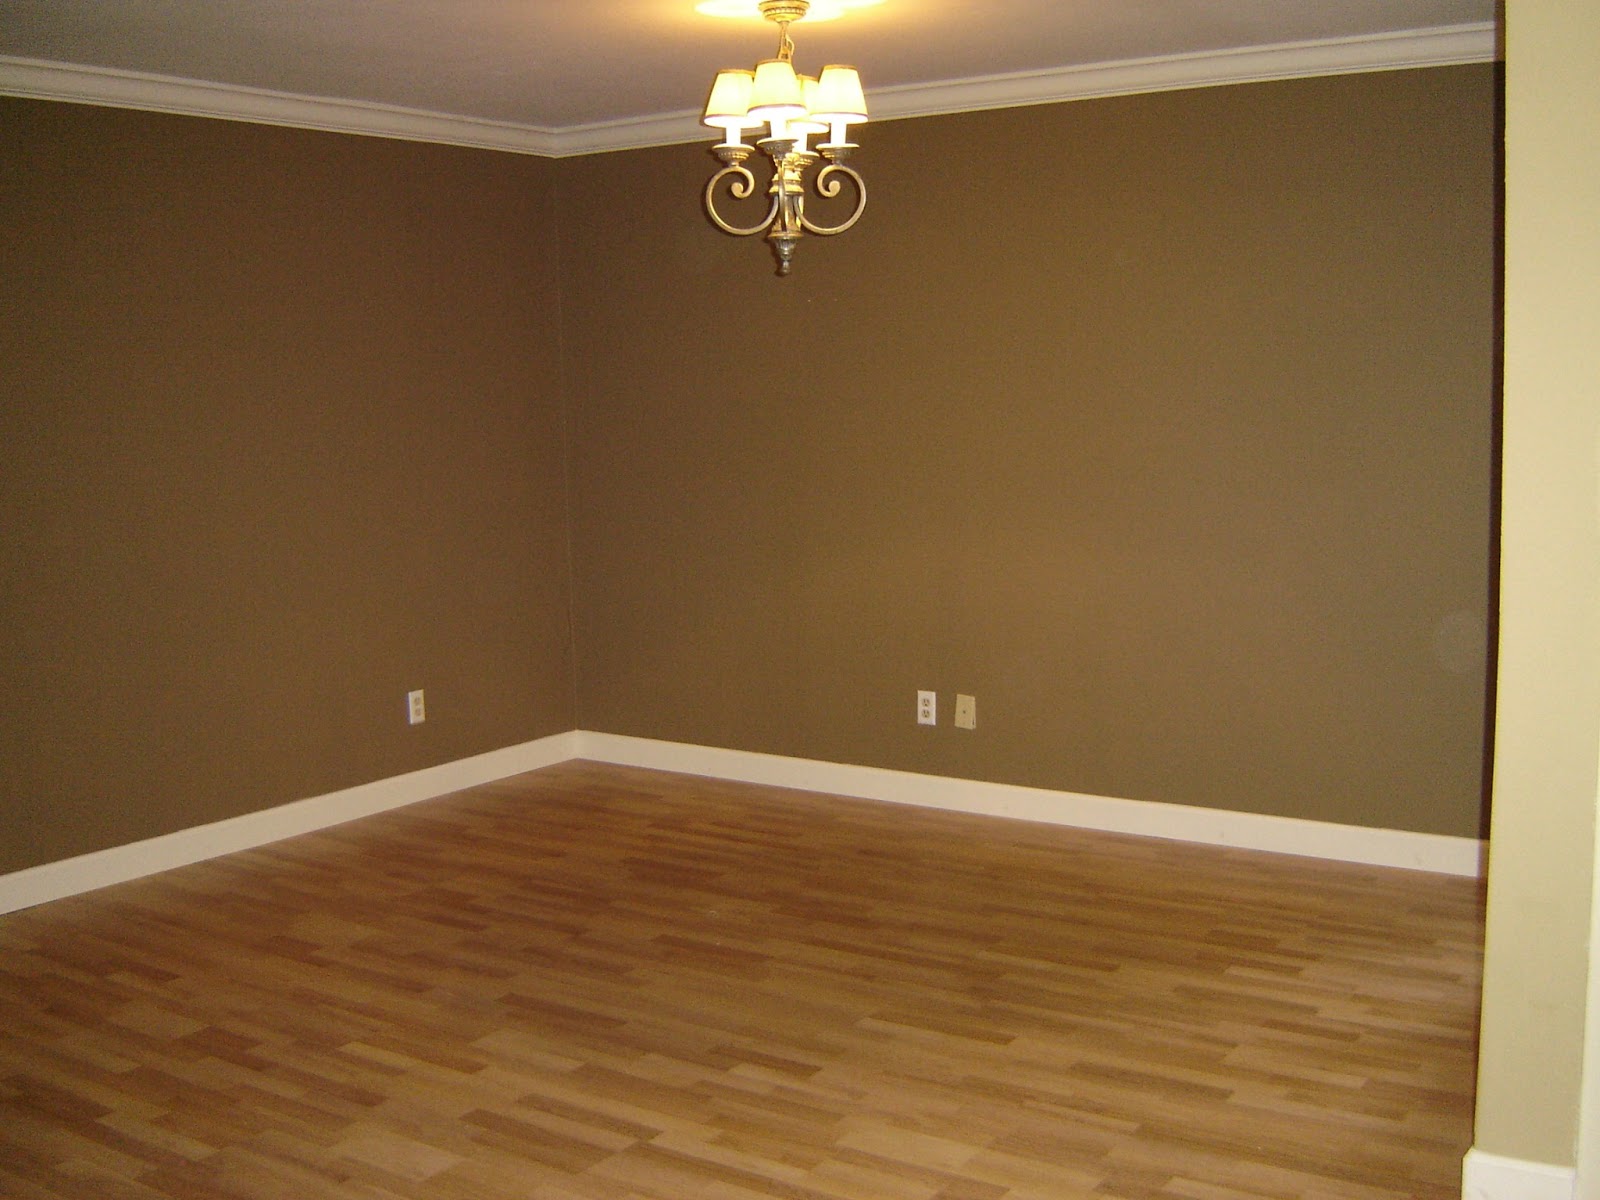
| We replaced the carpet flooring throughout the dining/living/hallway with a light oak laminate. It was a nice neutral wood. The chandelier replaced an older model ceiling fan. |
 |
| Here's the master bath. It was linoleum before and we replaced it with the same tile that was in the kitchen. The walls were red and we painted it ruffled clam. We also repainted the cabinets a fresh coat of white and repainted the gold hardware a nickel finish. |
Master Bath: After a steam bath, wallpaper remover, scraping and scoring, I finally got all this stuff off. It was almost like a plaster or modpodge. What a mess!
 |
| The master bath was small so we just replaced the linoleum with tile and removed the cardboard paper plaster and painted an earthy khaki. |
 |
| We replaced all the outlet covers to white ones. |
 |
| Hallway before transition pieces and baseboards. |
 |
| We took out the basic flat mirrors, which were glued to the sheet rock, and put in decorative hanging mirrors and added a towel bar and hand towel ring. We also re-caulked the tub, it had some mold that needed to be scraped out. |
I had an obsession with this gold/red color with a European flair for Tuscany. I'm not into this style any more, but it looked good then.
 |
| Here, we painted this brick and painted over the brass fireplace frame with a heat safe black. |
 |
| The backyard just need a few touch ups. Other than power washing the wood privacy fence, that's all we did. |
 |
| I simply loved this screened in porch. It was so nice. |
 |
| Painted the screen door trim and replaced the screen. Notice the yellow table inside? I got it from a neighbor yard sale for $5 and it moved with me and sits in my living room and is a rustic yellow wood coffee table! |
 |
Memories: This was my real estate office in the upstairs dormer office of Cliff Goodin & Assoc. . This was my new office after moving from a Century 21 cubicle. What a great opportunity to be drafted to a 'real' office! My colleagues couldn't believe
I was able to sell this house for such a profit with what little we did. It as such a fulfilling project and we were able to purchase a duplex, live in one unit, rent the other unit and slightly remodel the one we lived in. I discovered it while cold calling FSBO's (for sale by owner). I will post it some day as well.
Thanks for reading! |
Please feel free to write your thoughts here, I'd love to read them!